School of Motion’s Cinema 4D Basecamp.
The new year was ripe in learning new skills and a new program, so I decided to give Cinema 4D a try. Having always wanted to work with 3D, I was super excited to be going into the course and to see what I’ll learn! Here’s my journey to the top of the summit and my thoughts and reflections on this powerful software.
—
Cinema 4D | After Effects
About Basecamp & my 3D background…
Cinema 4D Basecamp is a 12-week intensive program from School of Motion. Taught by multi-Emmy winning motion design artist, EJ Hassenfratz, the course taught the fundamentals of 3D modeling, texturing, lighting, and animation. The program was meant for designers with little to no experience working with 3D, so it seemed like the perfect thing for me! Each week taught 2 lessons and assigned 2 projects, with supplemental lessons, podcasts, and critique. It was a plethora of information, but I think that was one of the defining aspects of taking this course.
Prior to starting the Basecamp, I had no working knowledge of Cinema 4D whatsoever. However, after learning the various Adobe programs, including Photoshop, Illustrator, and InDesign, as coursework for my graphic design studies in college, I was eager to expand my skillset to include the likes of 3D modeling and animation. I decided to learn Cinema 4D over other budget friendly options like Blender due to its stronger motion and design capabilities and for its standing as an industry grade software.
Over the course of 3 months, I was introduced to a wide array of what Cinema 4D had to offer. From basic navigation and modeling, to powerful MoGraph and animation tools, Cinema 4D Basecamp taught me a lot and laid a great foundation for learning more complex motion design in the future. So without further delay, here’s my experience working to the top of the mountain!


Orientation / My Favorite Place
The first week focused on basic interface navigation and modeling. We were introduced to the general Cinema 4D workspace and how to access various tools and how to move throughout. Navigational hotkeys were different from Adobe programs, so it took sometime to rewire my brain to accommodate the new program.
Our very first lesson was modeling a simplistic ramen shop. This first exercise solidified how to place, edit, and transform primitives into the workspace and how to combine different shapes to form a complex image. This also went over basic color texturing, scene setup, and detailing with ambient occlusion. We were given the challenge to create our own ramen shop with the knowledge gained from the first tutorial, so I pushed myself to make a more complex shop, Ramen Ichiraku from Naruto. I applied a lot of the stuff EJ taught and experimented with more primitives and colors.
After some practice with the interface and modeling from the first two ramen shops, we were given our first real assignment: to model our favorite place. We were given the restrictions of only using primitive shapes and 5 colors for our palette; simple yet still a challenge.
I decided to model my favorite café I normally go to for work and study. Working in a 3D space was definitely different than 2D in Adobe in that you really had to plan out your composition in accordance to your angle and where to place objects. I pulled reference images of the café from online and drew up a rough outline of how to composite it into a simple 3D environment. From there its was all primitive building and placing. The limited color palette was a challenge at first, but I was able to choose the best colors that worked with each other and provided the best contrast in the scene. Though I applied a great deal of C4D basics here, my biggest take away from this first project was project management: how to place smaller objects in a larger scene, engraining usage of the 4-up display to move around such objects, and further practicing C4d navigation and hotkeys.
Be Kind, Please Rewind
Second week explored working with splines and the pen tool, and served as our introduction to generators. We began with a brief tutorial on modeling a cassette by extruding splines to create a 3D shape. Further exploration into the capabilities of generators showed us how to utilize Boole’s to cut into shapes and sweeps to give form to complex splines. Supplemental lessons this week also explained how to import Illustrator files into C4D to create 3D scenes with vectors (this comes in handy because I found C4D’s spline tools more difficult to draw with compared to Illustrator’s).
Our first project of the week had us modeling a VHS tape in the same way as we did the cassette. Trying to hit the nostalgia feels, I wanted to recreate the classic Nickelodeon tapes with its iconic orange casing. To draw the initial splines, I imported an image of the VHS into my workspace and traced it over with the pen tool. From there it was extruding the spline to form the actual shape and using Boole generators to carve out the other details. Creating the spline for the VHS band was a challenge in modeling and having it legible with the sweep applied. Overall, I found splines easier to create complex objects with rather than primitive shapes.
Super Modeling Challenge
Our first real test in modeling. We were first tasked with recreating a NES cartridge using polygon tools. This was our first foot into complex modeling. By using reference images, we were able to recreate the cartridge using bevel tools and loop cuts. Additionally, we were taught how to use images and alpha channels to place images onto our models, seen below with the Super Mario gaming label.
To truly test our modeling skills, we were tasked with recreating an NES console. This was surprisingly easier to create compared to the other projects (probably because I had more experience at this point working within C4D and how to efficiently use the 4-up display). I was able to use the bevel tools to trace reference images and use loops to create the finer details on the console. It’s here where we also learned of polygon selections and how to set colors for specific parts of our model. Incorporating other skills from generators to create the controller sockets, this became a great exercise not only in complex modeling, but also a great refresh of prior lessons. It was definitely more time consuming, but also more fun to create.
Light it Up
Prior lessons solely focused on modeling and colors. However, week three introduced us to one of the major aspects of 3D modeling: lighting and reflections. Working in a 3D space also meant understanding how things in real life react to surrounding lights and how they reflect it. I found this topic really interesting because a lot of the light rigging done in C4D emulates real life lighting used in studios and film production.
This first lesson focused on lighting and how to properly rig them to achieve a desired mood for a composition, all the while being able to highlight details and accentuate with shadows. Our task was to create compositions for various atmospheres: Film Noir, Sci-Fi, Moring Talk Show, and Late Night Show. To achieve this, we were given a scene to light up without any colors or texture applied on them (this was to emphasize how lights affected objects and to practice with rigging). EJ gave us a lot of options to work with: utilizing various lighting techniques (ie 3-point lighting, 2-sided lighting, HDRI), using cycs, backlights, and gobos, and experimenting with shadows and falloff. Overall, lighting was more of a challenge than past lessons. Though I had the design background to understand modeling and colors, lighting was a new realm entirely. I had the idea in my head, but actually trying to execute the proper rigging and contrast involved a lot of trial and error.
Make it Shiny
To further dive into lighting scenes, this lesson focused on reflections and how to create textures to achieve more realistic objects. We mainly looked into the Reflectance material channel and used the various options in there to create a variety of materials. We learned the difference between Beckman and Ward reflection models, and when to use Dielectric or Conductor Fresnel depending on the material that we aimed to create. Using this knowledge, we were tasked with creating reflectance’s for a given scene. Going back to the previous lesson, I still found rigging various lights and creating softboxes to be challenging. That alongside having to create reflectance on the multiple surfaces presented in the scene was even more difficult. This was definitely something I had to put more practice in, but it was still fun experimenting with different reflectance channels and Fresnel to make the textures I needed.
It’s a Trap!
This week opened up with our very first animation lesson. Having the knowledge to model scenes and properly light and texture them, we now began the process of how to animate them to put the motion in motion design. This was definitely the part I was most excited for, and what drew me in to learn C4D in the first place. For these initial animation lessons, we were provided with all the models and assets and were tasked with bringing them to life. Animating also introduced us to the Animate layout and to the Timeline window. Just like with lighting, a lot of real world thought and physics needed to be put into animation to create realistic movement. Disney’s 12 principles of animation were a great foundation to review before heading into the lesson, with EJ going into detail on how to achieve that within a 3D space. Basic animation techniques learned included creating simple movement and using the squash and stretch principle. In tandem with this, we also were introduced to keyframing and editing speed through F-curves to create more realistic/stylized movement.
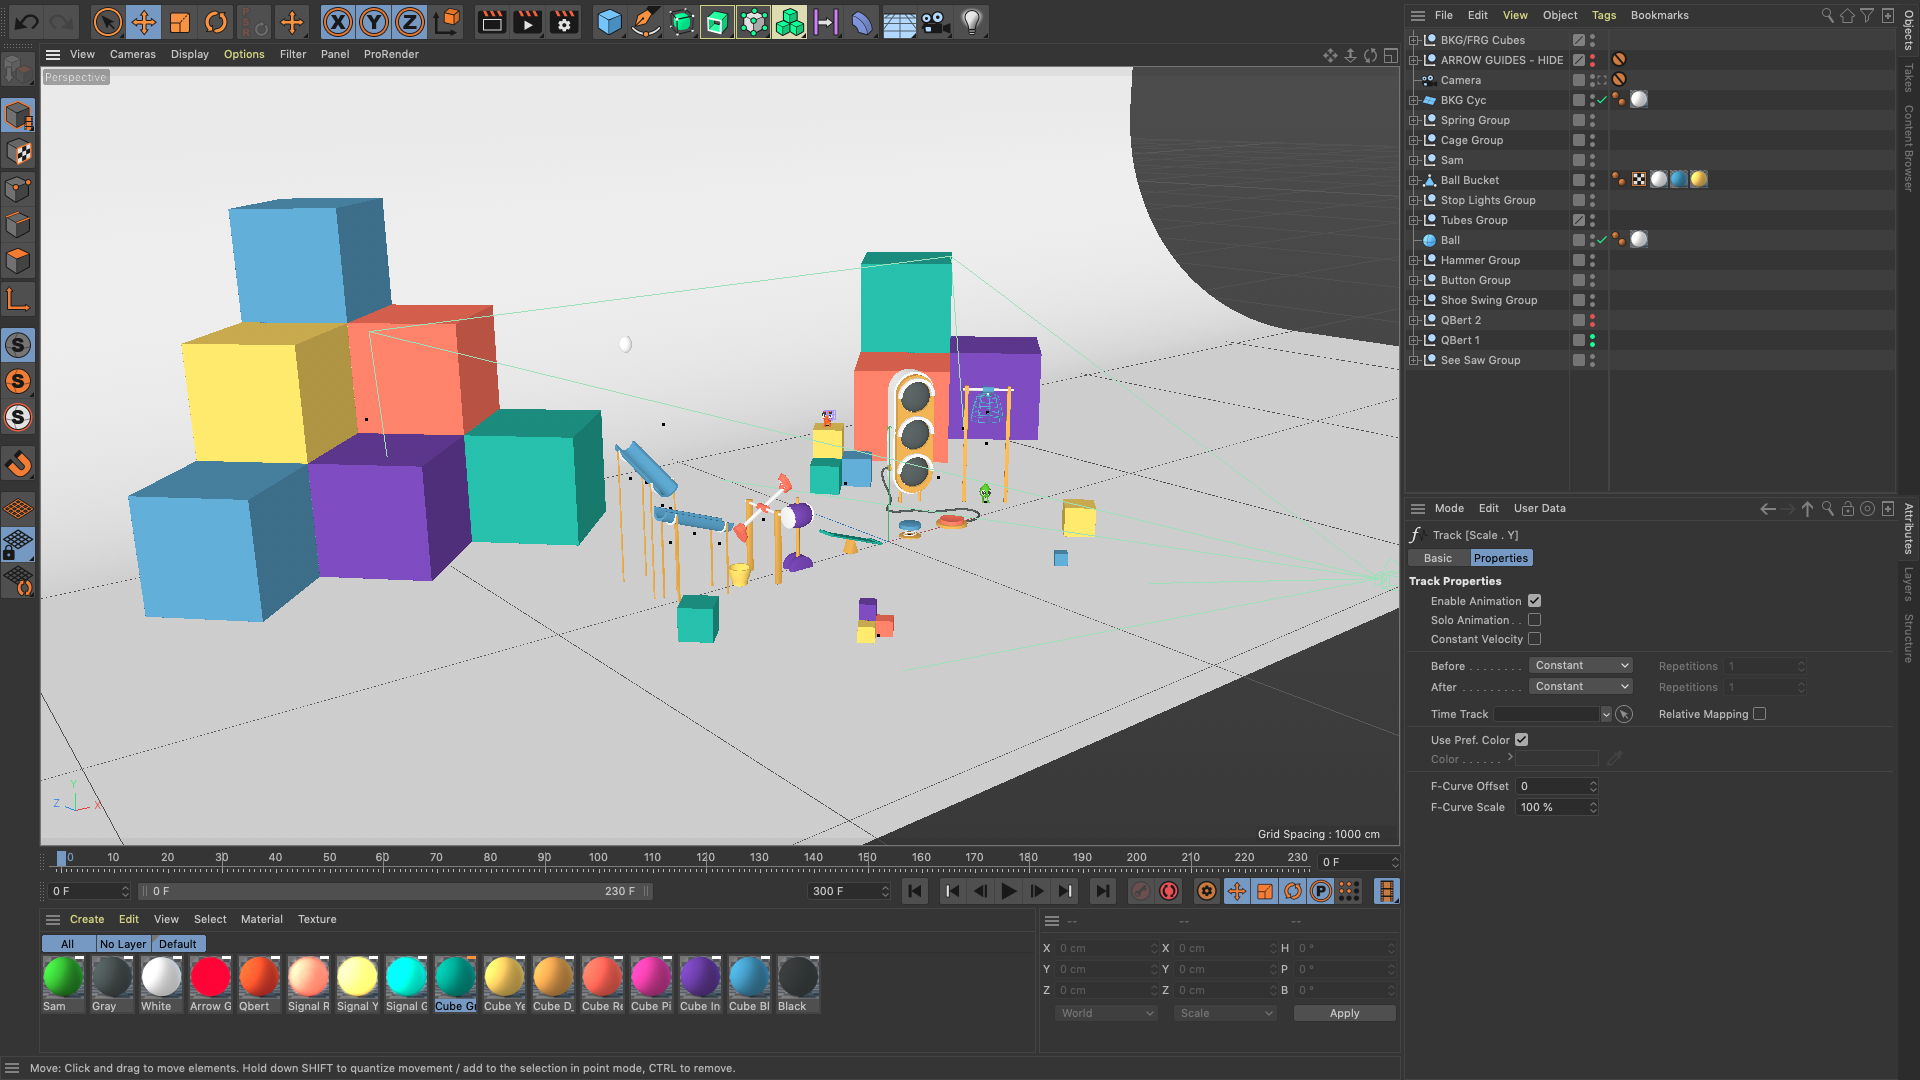
Putting the stuff we learned to use, we were tasked with animating a Rube Goldberg machine featuring Qbert and Sam. There was a lot of meticulous keyframing, especially with the squash and stretch frames. It was also a challenge to read how the F-curves were displayed and toying with them in order to achieve a desired animation pacing. All motion was left to our discretion: how the ball was weighted, how Qbert moved within the space, how the lights would turn on. Overall, it was a great introduction to animation and I really liked how I had to replicate real life movement with the parts I was given.
Up in the Air
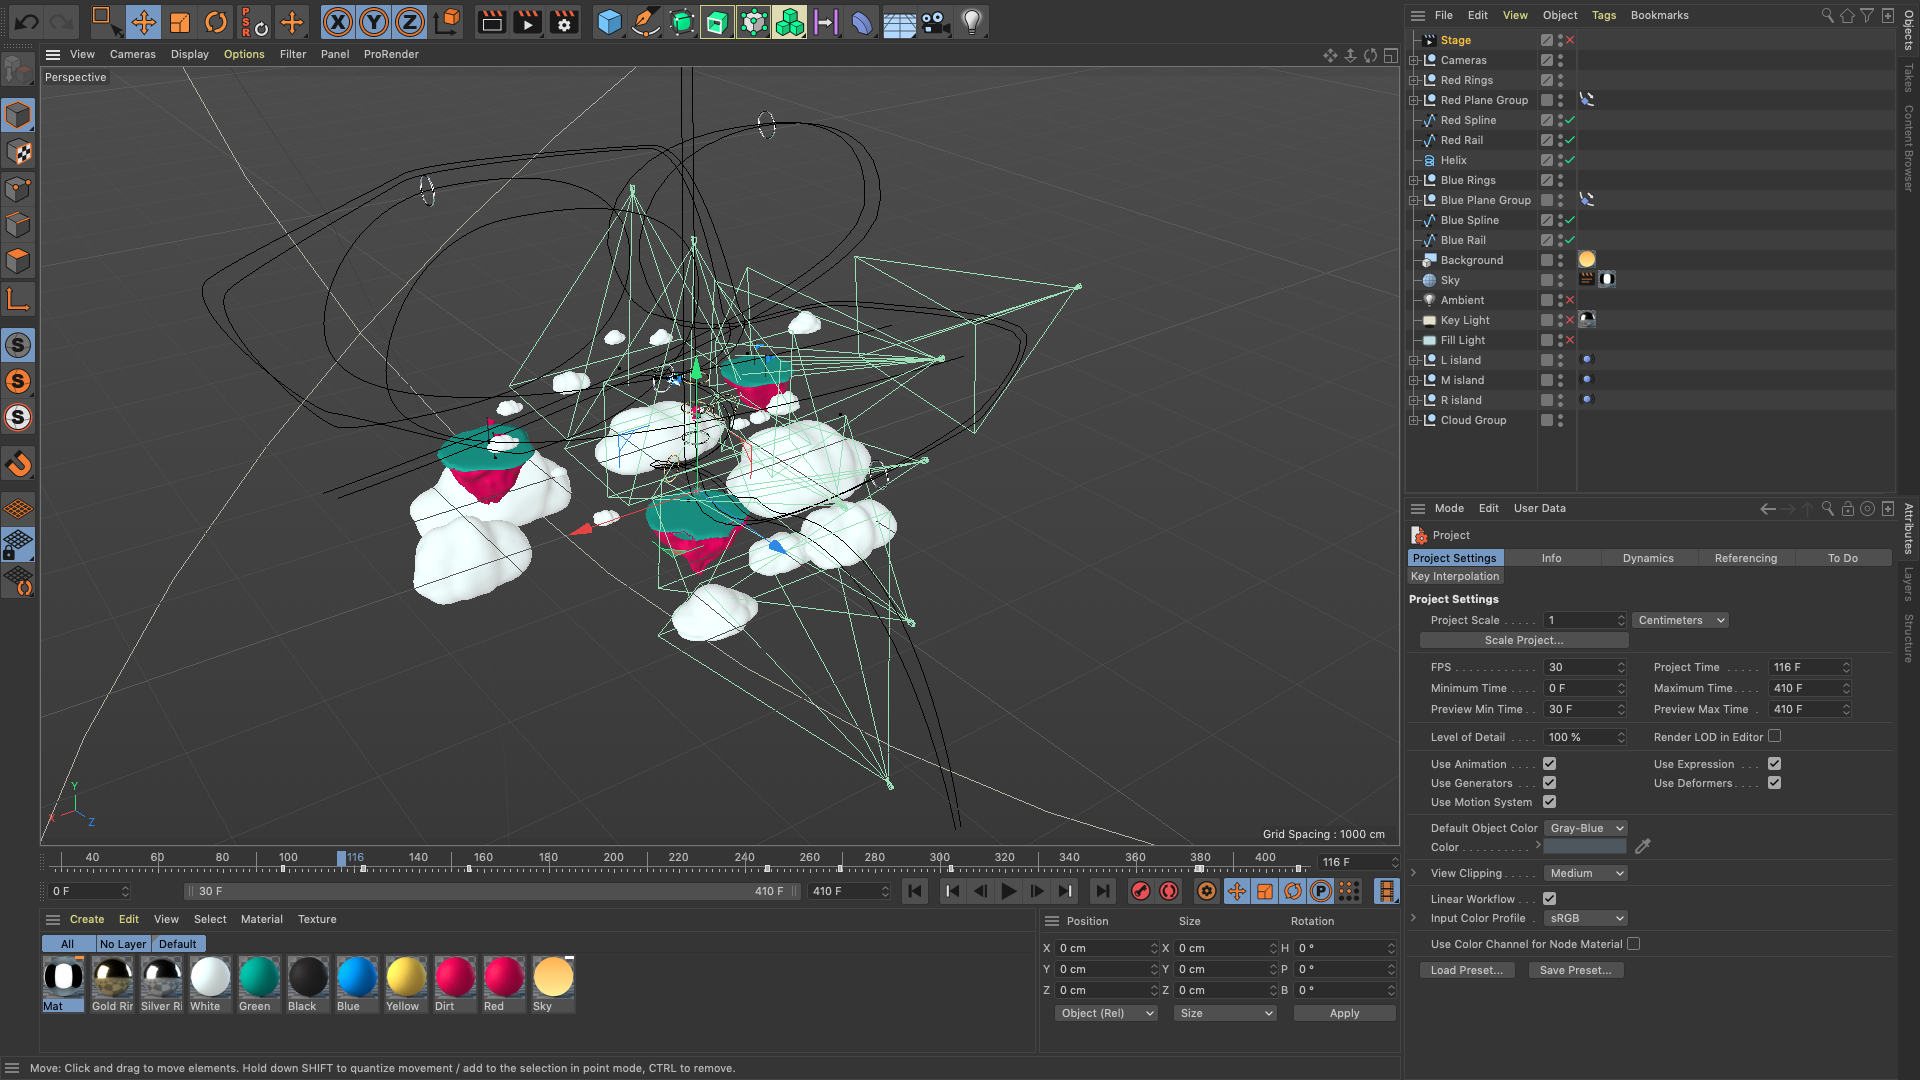
The second part of our introductory animation week involved other methods of moving objects within a scene. This was accomplished through particle emitters, splined sweeps, vibration tags, and flag deformers. For this assignment, we had to apply those methods and animate Sam in an airplane going through rings. Again, the models were given to us from the start and all we had to do was add motion to the scene. Revisting splines and sweeps from the VHS lesson, I drew out the planes’ routes through the sky using the pen tool and animated the keyframes so that the planes moved along them. Detailed F-curve editing was done to account for speed changes due to motions, like slowing down at peaks and while banking. Vibration tags were applied to the islands to simulate floating, and the flag deformers were applied to the flags to have them flap in the wind.
We Built This City / Hustle & Bustle
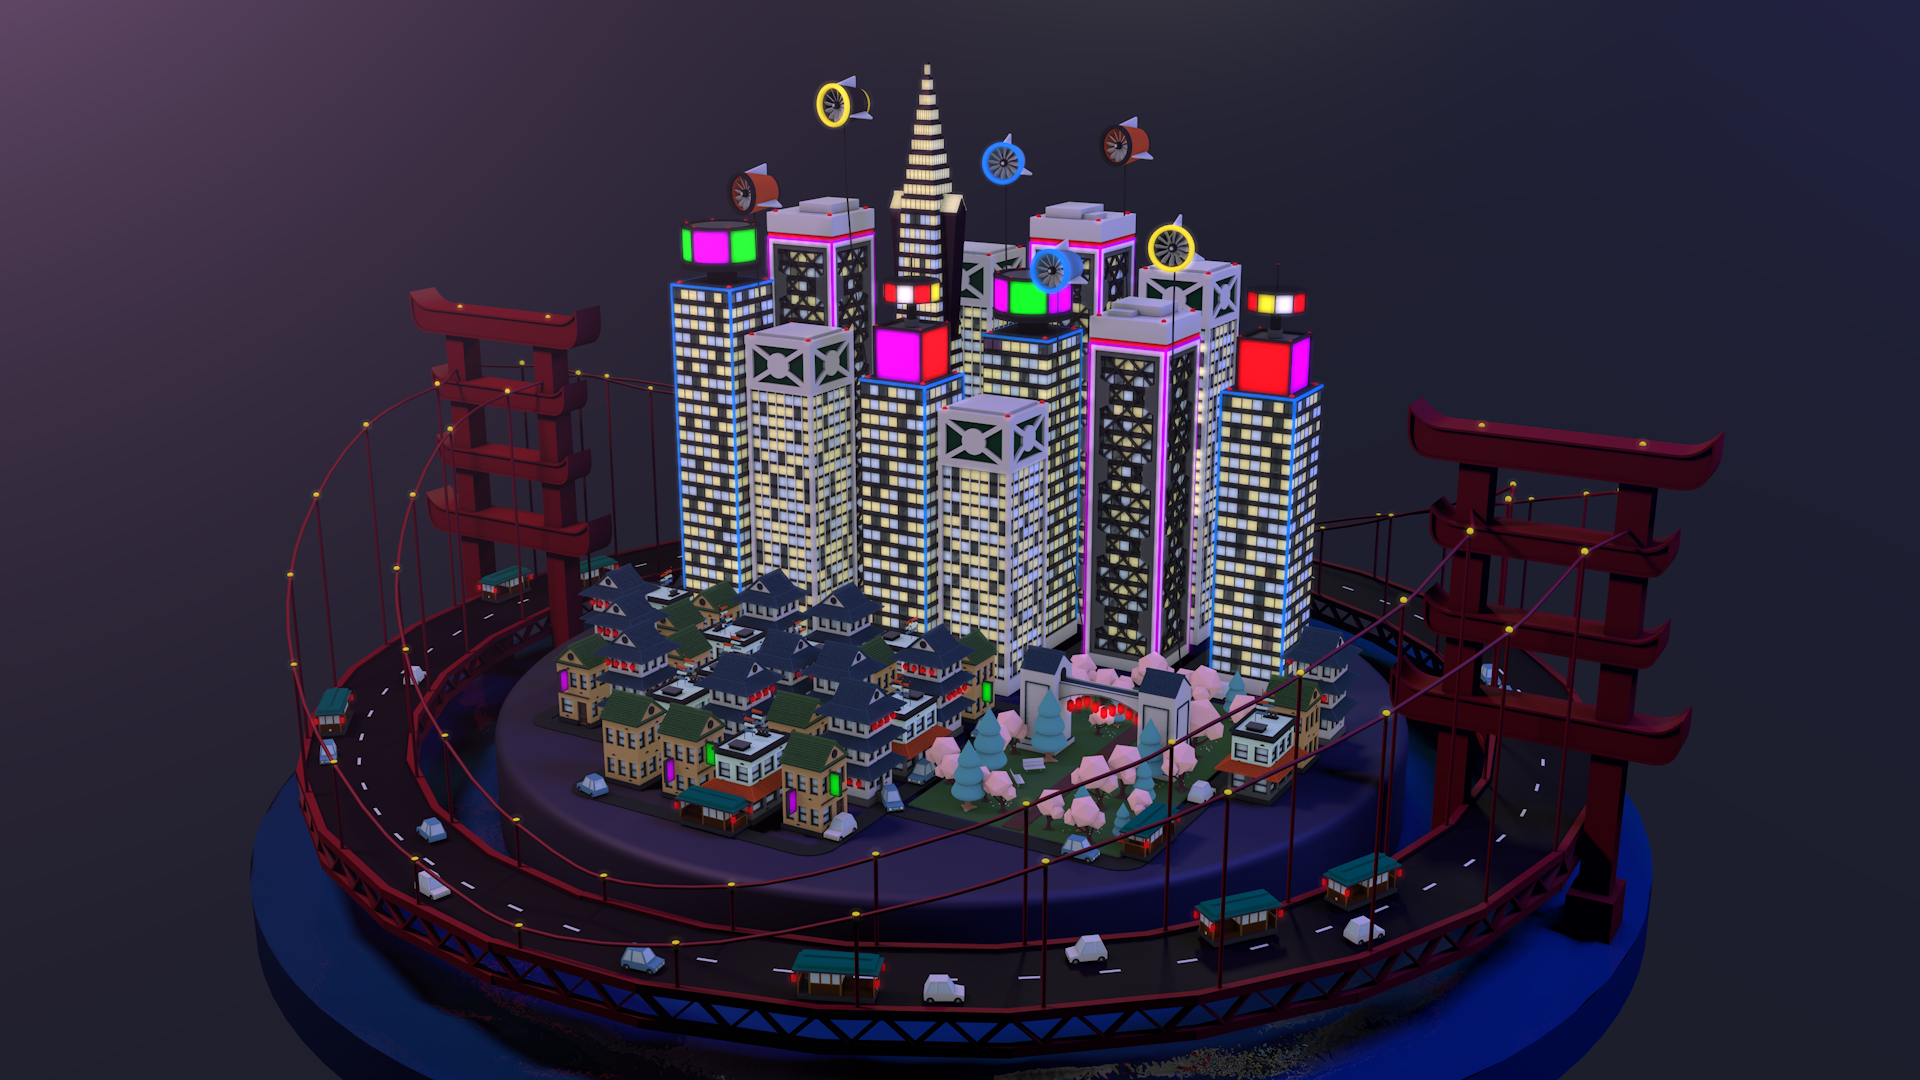
The full power of Cinema 4D was on display in this lesson of MoGraph tools. This turned out to be my favorite week of the whole course. MoGraph really made dense scene making a breeze and made animating so much easier. After some practice with cloners and effectors, we were tasked with building our own city. Although the assets were given to us again for this project, I took a step further and customized those assets and created my own buildings to better fit my chosen city of Big Hero 6’s San Fransokyo more. This was particularly gratifying because I was able to take all the things we learned in the past weeks and apply them here. It was really fun being able to create the objects that I envisioned in my head, a great sign of my progress from when I first started.
Having created our static city through cloners, we were then tasked to bring it to life using falloff fields. Again, MoGraph made everything so much easier and that much more fun. I experimented with linear, radial, and spherical fields to animate the various components of San Fransokyo. Additionally, I was able to go back and use the old stuff we learned and apply it here! I made the rotation curves repeat indefinitely, applied the vibrate tag for floating, and animated sweeps through keyframing positions. This was such a fun project, and made me realize how powerful of a program C4D was to created such animation through only a few clicks and edits. I think the biggest take away from this was me exercising all the things EJ has taught us so far, and it was exciting thinking of an animation to put in and actually knowing how to make it happen. There were a few kinks to work out after the final render, but I was nonetheless proud of what I was able to accomplish after just a few weeks of training.
Your Inner Spielberg
A little break from all the scene animation from the last couple of weeks, we were introduced to camera set up and rigging. Just like lighting and animating, Cinema 4D utilizes real world camera techniques. Here we learned various types of camera lenses, how to apply focus to them, and the best techniques to achieve a desired cinematographic composition. For this exercise, I employed the Stage camera in order to switch amongst multiple camera angles and movements. I originally experimented this with the “Up in the Air” lesson so it was interesting going more in depth with it.
The Ultimate Test
After months of lessons and assignments, we finally reached the beginning of the end. The Ultimate Test was really... well, a test. To start it all off, we we tasked with creating an Instagram spot for Explain.ly and were given several prompts to create it in anyway that we liked: 1) animate a 15 second spot, 2) use the given VO and, 3) have the Explain.ly logo featured. A fairly simple project, but a lot of planning and work was put into it.
Similar to the “Hustle and Bustle” project, I put in all of my knowledge that I grew to learn in the past few months in this piece. Modeling, texturing, lighting, and animating were all utilized to create the numerous assets, scenes, and movement in the spot. With all the stuff I wanted to put in and all the things I was continuously experimenting with, I was unable to output a final render by the time the course ended, but was still amazed with the progress and quality I was able to produce nonetheless.
For a more in depth look into my work for this project, click here!
Final reflections on the course…
Overall, I think Cinema 4D Basecamp was a worthwhile journey. I definitely learned lots of new things throughout these past few months, and though there's still a lot of practice and exploring left to do, I'm really glad of the progress I've made given my noob status at the beginning of all of this. I’ve always enjoyed designing and creating, but I felt there was something missing from programs that I’ve used like Photoshop and Illustrator. Cinema 4D was a great introduction to the world of 3D and motion design, and it’s something I wanna get better at and eventually master moreover than the Adobe programs. And I think that was the biggest thing I learned from this journey: what type of design to focus on. 3D has so many applications everywhere, and I’m really excited to continue working with it going forward and experimenting with bigger and more complex compositions. So big shout out to my instructor EJ Hassenfratz and my TA Yusef Najafi in helping me climb to the summit in this Cinema 4D Basecamp. It was a worthwhile time.
Thinking of taking this course yourself? It’s really meant for complete beginners and novice designers for C4D. Sure, you can hone your foundations if you’re more familiar with the program, but it goes into really basic things that’ll be more instructional for first timers. EJ’s a great instructor and provides more clarity than random YouTube tutorials online (my one critique would be him not explaining too in depth some program functionality until later in the course when it could be applicable earlier, like camera usage, more hotkeys, and render instances). It’s a hefty price tag, but with it you get fellow classmates and dedicated TA’s to help you with assignments, a plethora of PDF’s on the topics and references we go over, and numerous podcasts to listen to regarding creativity, C4D tips and tricks, and experience from other motion designers. Plus, you get an educational license of C4D during your time in the course. So you wanna learn 3D using an industry grade program to create stunning motion design? You can start here at Basecamp; it’ll be an amazing journey.


